reading-notes
Chart.js, Canvas
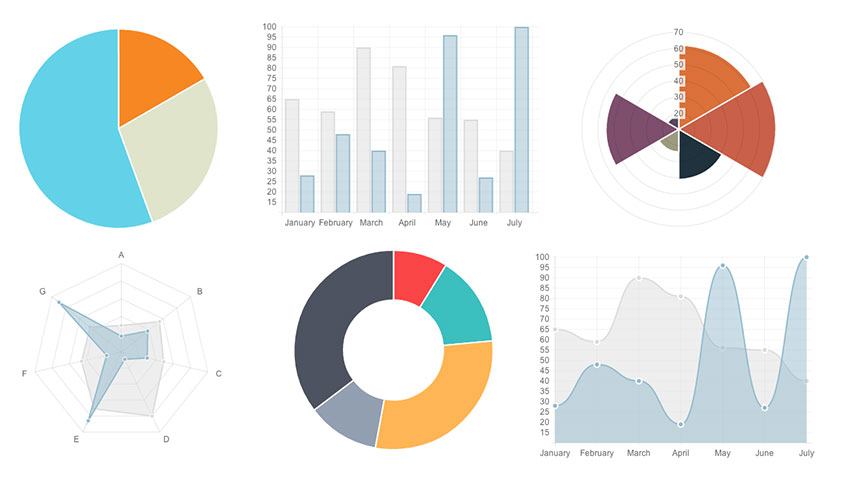
EASILY CREATE STUNNING ANIMATED CHARTS WITH CHART.JS
Setting up:
The first thing we need to do is download Chart.js. Copy the Chart.min.js out of the unzipped folder and into the directory you’ll be working in. Then create a new html page and import the script:
<!DOCTYPE html>
<html lang="en">
    <head>
        <meta charset="utf-8" />
        <title>Chart.js demo</title>
        <script src='Chart.min.js'></script>
    </head>
    <body>
    </body>
</html>
Drawing a line chart:
- To draw a line chart, the first thing we need to do is create a canvas element in our HTML in which Chart.js can draw our chart.
<canvas id="buyers" width="600" height="400"></canvas>
- Next, we need to write a script that will retrieve the context of the canvas, so add this to the foot of your body element:
<script>
    var buyers = document.getElementById('buyers').getContext('2d');
    new Chart(buyers).Line(buyerData);
</script>
- Add this immediately above the line that begins
var buyers
var buyerData = {
	labels : ["first","second","third","fourth","Fifth","Sixth"],
	datasets : [
		{
			fillColor : "rgba(172,194,132,0.4)",
			strokeColor : "#ACC26D",
			pointColor : "#fff",
			pointStrokeColor : "#9DB86D",
			data : [203,156,99,251,305,247]
		}
	]
}
- after that we can see a cool animated line graph.
Drawing a pie chart:
- First, we need the canvas element
<canvas id="countries" width="600" height="400"></canvas>
- Next, we need to get the context and to instantiate the chart
var countries= document.getElementById("countries").getContext("2d");
new Chart(countries).Pie(pieData, pieOptions);
- Next we need to create the data. This data is a little different to the line chart because the pie chart is simpler, we just need to supply a value and a color for each section:
var pieData = [
	{
		value: 20,
		color:"#878BB6"
	},
	{
		value : 40,
		color : "#4ACAB4"
	},
	{
		value : 10,
		color : "#FF8153"
	},
	{
		value : 30,
		color : "#FFEA88"
	}
];
- Now, after the pieData we’ll add our options:
var pieOptions = {
	segmentShowStroke : false,
	animateScale : true
}
- These options do two things:
- they remove the stroke from the segments
- then they animate the scale of the pie so that it zooms out from nothing.
Drawing a bar chart:
Finally, let’s add a bar chart to our page. the syntax for the bar chart is very similar to the line chart we’ve already added.
- First, we add the canvas element
- Next, we retrieve the element and create the graph
- And finally, we add in the bar chart’s data
Basic usage of canvas
At first sight a <canvas> looks like the <img> element, with the only clear difference being that it doesn’t have the src and alt attributes. Indeed, the <canvas> element has only two attributes, width and height. These are both optional and can also be set using DOM properties. When no width and height attributes are specified, the canvas will initially be 300 pixels wide and 150 pixels high. The element can be sized arbitrarily by CSS, but during rendering the image is scaled to fit its layout size: if the CSS sizing doesn’t respect the ratio of the initial canvas, it will appear distorted.
Drawing shapes with canvas
<canvas>only supports two primitive shapes: rectangles and paths (lists of points connected by lines). All other shapes must be created by combining one or more paths. Luckily, we have an assortment of path drawing functions which make it possible to compose very complex shapes.
First let’s look at the rectangle. There are three functions that draw rectangles on the canvas:
- Draws a filled rectangle.
fillRect(x, y, width, height) - Draws a rectangular outline.
strokeRect(x, y, width, height)3.Clears the specified rectangular area, making it fully transparent.
clearRect(x, y, width, height)
Rectangular shape example
function draw() {
  var canvas = document.getElementById('canvas');
  if (canvas.getContext) {
    var ctx = canvas.getContext('2d');

    ctx.fillRect(25, 25, 100, 100);
    ctx.clearRect(45, 45, 60, 60);
    ctx.strokeRect(50, 50, 50, 50);
  }
}
Drawing paths
Now let’s look at paths. A path is a list of points, connected by segments of lines that can be of different shapes, curved or not, of different width and of different color. A path, or even a subpath, can be closed.
To make shapes using paths, we take some extra steps:
- First, you create the path.
- Then you use drawing commands to draw into the path.
- Once the path has been created, you can stroke or fill the path to render it.
Here are the functions used to perform these steps:
-
beginPath():Creates a new path. Once created, future drawing commands are directed into the path and used to build the path up. -
Path methods:Methods to set different paths for objects. -
closePath():Adds a straight line to the path, going to the start of the current sub-path. -
stroke():Draws the shape by stroking its outline. -
fill():Draws a solid shape by filling the path’s content area.
Applying styles and colors
Colors
to apply a color to a shape, there are two important properties to use : fillStyle and strokeStyle.
fillStyle = color:Sets the style used when filling shapes.strokeStyle = color:Sets the style for shapes’ outlines.
Drawing text
- The canvas rendering context provides two methods to render text:
fillText(text, x, y [, maxWidth]):Fills a given text at the given (x,y) position. Optionally with a maximum width to draw.strokeText(text, x, y [, maxWidth]):Strokes a given text at the given (x,y) position. Optionally with a maximum width to draw.
A fillText example
The text is filled using the current fillStyle.
function draw() {
  var ctx = document.getElementById('canvas').getContext('2d');
  ctx.font = '48px serif';
  ctx.fillText('Hello world', 10, 50);
}
A strokeText example
The text is filled using the current strokeStyle.
function draw() {
  var ctx = document.getElementById('canvas').getContext('2d');
  ctx.font = '48px serif';
  ctx.strokeText('Hello world', 10, 50);
}
Styling text
font property let you adjust the way the text gets displayed on the canvas:
font = value:The current text style being used when drawing text. This string uses the same syntax as the CSS font property. The default font is 10px sans-serif.textAlign = value:Text alignment setting. Possible values: start, end, left, right or center. The default value is start.textBaseline = value:Baseline alignment setting. Possible values: top, hanging, middle, alphabetic, ideographic, bottom. The default value is alphabetic.direction = value:Directionality. Possible values: ltr, rtl, inherit. The default value is inherit.